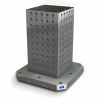
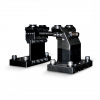








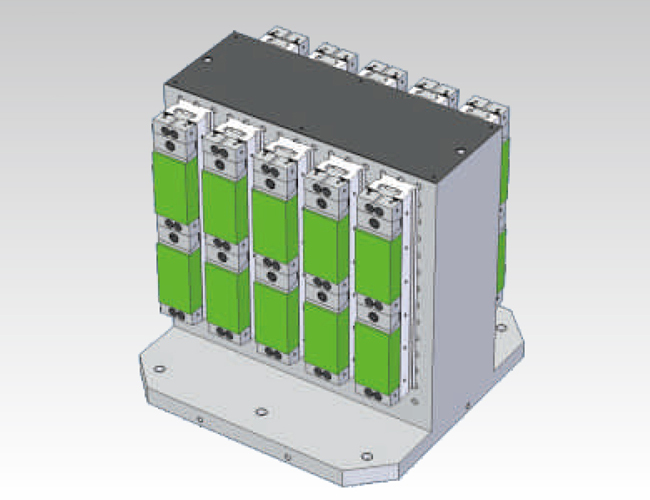
Setting up a CNC tombstone on a Horizontal Machining Center is one of the highest-leverage operations in a machine shop. Done right, it unlocks everything horizontal machining is designed to deliver, multiple faces loaded, parts cycling automatically, spindle running as long as possible between operator touches. Done wrong, it introduces runout, work coordinate errors, and in the worst case, a collision that damages tooling, fixtures, and the spindle.
This guide walks through the complete setup process from start to finish: what to check before the tombstone ever leaves the floor, how to rig and install it safely, how to dial it in to the precision a modern HMC demands, and the mistakes that silently ruin part quality even when everything looks fine.
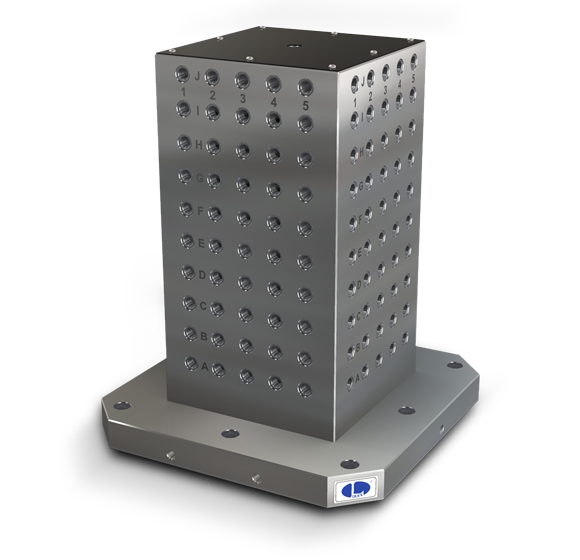
Before You Hoist: Pre-Setup Checklist
Most tombstone setup problems are created before the fixture ever leaves the floor. These checks take ten minutes. Skipping them can cost hours.
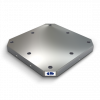
Inspect the pallet and sub-plate. The mating surfaces between your pallet and the tombstone base have to be spotless. Check your sub-plate for thread damage, corrosion, or raised metal from prior overtorquing. Blow down the pallet surface and look for chips, burrs, or coolant residue. Even a single chip under a locating key will cock the tombstone and compromise your entire work coordinate grid before the first cut.
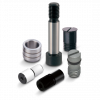
Inspect pull studs and dowels. Confirm every pull stud sits flush and shows no wear on the pull groove. Check locating dowels for dings or raised edges. Replace anything borderline, these components determine your X/Y position and they need to be right.
Confirm B-axis clearance before anything else. Tombstone height plus maximum part protrusion must fit inside your machine’s B-axis swing envelope with margin. Don’t estimate it, model it. Tombstone City provides free 3D CAD files in STP and PDF for every product in our lineup. Download the model for your tombstone, drop it into your CAM software, and verify clearance before you touch the hoist.
If you’re using a zero-point clamping system (Erowa, Lang, Schunk, or similar), confirm the receiver modules are clean, clamping elements retract fully, and the pull-stud seats are free of contamination. A partial engagement looks solid until you load cutting forces, then it moves.
Gather everything you need before the lift:
- Overhead crane or gantry hoist with rated rigging hardware, check the load rating and rigging capacity before you pick anything up
- Calibrated torque wrench appropriate for your fastener spec
- 0.0001″ resolution test indicator and magnetic base
- On-machine probe or edge finder for WCS establishment
- Precision ground square or parallel for face squareness reference
- Compressed air, lint-free wipes, and way oil if your machine builder specifies it
- Any setup hardware and accessories specific to your tombstone configuration, positioning bushings, chip plugs, or threaded inserts if your faces are being reconfigured
Step 1: Clean Both Mating Surfaces
This step is non-negotiable. Any contamination between the tombstone base and the pallet surface will introduce tilt, and no amount of indicating will correct a dirty interface, the tombstone has to come off and the surfaces have to be cleaned properly before it goes back on.
Blow down both the tombstone base and pallet top with compressed air, then wipe with a lint-free cloth. Run a precision straightedge across the pallet surface to check for dings or raised edges. Apply a thin film of way oil to the mating surfaces only if your machine builder recommends it, avoid anything that could cause hydraulic lock or introduce a shimming effect under clamping load.
Step 2: Rig and Hoist Safely
Thread rated eyebolts into the tombstone’s dedicated lifting taps. Never sling around the body. For tall tombstones, use a spreader bar or lifting beam, a single-point lift on a tall column creates a tilting moment that makes positioning over a tight pallet envelope difficult and hazardous.
Move deliberately. HMC work areas are confined, and a swinging tombstone can damage pallet changer arms, carousel components, chip auger covers, or the pallet itself. Position the load directly above the pallet before you lower.
Safety Note: Verify the rated capacity of the crane and every piece of rigging hardware before lifting. Minimum 4:1 safety factor. Confirm eyebolts are fully threaded and seated, a partially engaged eyebolt is a failure point under dynamic load.
Step 3: Locate and Position
Lower the tombstone slowly and engage the locating keys, alignment pins, or zero-point pull studs before releasing crane tension. These features establish your X/Y datum, they have to fully seat before any fastener is started.
If you’re using alignment keys in T-slots, confirm both keys are in the same slot, fully seated, without rocking. A key that’s partially engaged will allow lateral drift under cutting forces, and the drift often doesn’t show up until you’re mid-run on a long production cycle. For step dowel pins, confirm they’re seated flush and the shoulder is making full contact with the bore; these are your position reference and they need to be solid.
On zero-point systems, listen and feel for the clamping units to engage. Most systems provide a visual indicator pin that drops when the pull stud is fully locked; don’t release the crane until you’ve confirmed it.
Step 4: Torque in Cross-Pattern Sequence
Start all fasteners finger-tight before applying any torque. Never bring one bolt to full torque before the others are started; this rocks the base and builds tilt into the setup from the first pass.
Torque in a cross-pattern sequence at three passes: 30%, 60%, and 100% of the manufacturer’s specified value. This distributes clamping force evenly across the base footprint. Consult your tombstone manufacturer’s spec, cast iron columns and aluminum modular systems have different requirements, and overtorquing aluminum can yield base threads or pull inserts.
After final torque, sweep the top surface of the tombstone with a straightedge and confirm no rocking. If there’s movement, the base isn’t fully seated, investigate before proceeding.
Alignment, Dialing In, and Work Coordinate Setup
Once the tombstone is torqued down, the precision phase begins. This is what determines whether your parts hold tolerance, and it’s where the most impactful setup errors get introduced.
Check TIR across each vertical face. Mount a 0.0001″ test indicator in the spindle and sweep the full usable face height. For precision work, Total Indicated Runout (TIR) across the face should be within 0.0005″ or better. Sweep the top surface as well to check for tilt in the B-axis plane.
If TIR is out of spec, don’t shim. Remove the tombstone, re-clean both surfaces, and reinstall. Shims under a tombstone base are a maintenance problem, they fall out, they compress unevenly, and they make your setup non-repeatable the moment the tombstone is pulled for a job change.
Establish your Center of Rotation. The Center of Rotation (COR) is the B-axis rotational centerline of the HMC. Every WCS offset for every face of the tombstone references from this point. Your machine builder documentation specifies how to locate and store the COR, get this right and your entire WCS grid is anchored correctly. Get it wrong and every face carries the same unknown error.
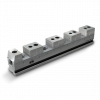
Probe each face individually. Use your on-machine probing system to touch off face centerlines and Z-axis datums one face at a time. On a 4-sided tombstone, you’ll typically store four WCS offsets, one per indexed face. If a face carries modular vises or multiple fixture plates, probe each fixture position independently and store offsets accordingly.
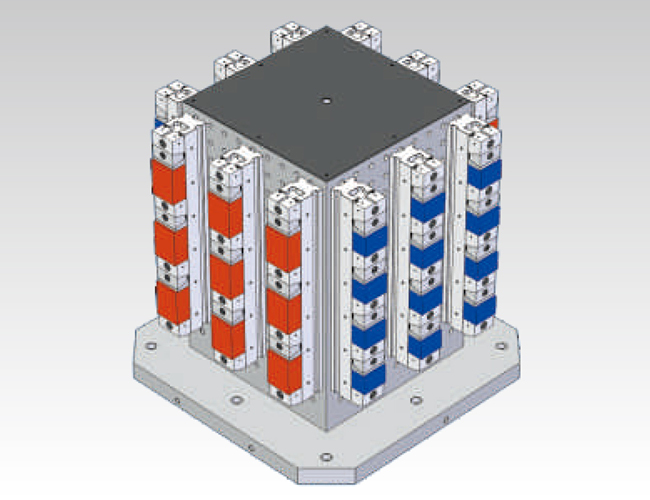
For twin-tombstone pallets, probe each tombstone independently. Pallet-to-pallet variation is real, never copy-paste WCS offsets between pallets without verification. A transposed digit in a work offset is one of the most common causes of first-article crashes.
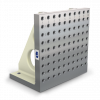
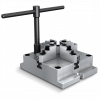
Pro Tip: If you’re running compound-angle work or need a perpendicular secondary clamping reference on any face, consider mounting angle plates directly to the tombstone face. It adds angular clamping surfaces to each indexed face and improves datum control on asymmetrical or multi-face parts, without committing to a separate pallet setup.
Always run a dry cycle before the first cut. Single-block, feedrate-overridden, spindle off. Verify every rapid move clears the tombstone body, all fixture plates, and any angle plates or vise jaws on every indexed face. This is the final check before chips fly.
Common Tombstone Setup Mistakes
These are the errors that show up most often, even on experienced setups.
- Sequential torquing instead of cross-pattern. Bringing one fastener to full torque before the others are started rocks the base. Even 0.001″ of tilt at the base becomes a significant error at the top of a tall tombstone face, and it won’t show up until you’re indicating.
- Chip contamination under the base. One curled chip under a corner of the tombstone foot acts like a precision shim. The tilt it creates cannot be corrected with WCS adjustments, the tombstone has to come off and the surfaces have to be re-cleaned.
- Ignoring thermal expansion. Aluminum tombstones and steel pallets expand at different rates. Set up cold, run a long cycle, and your Z-datum drifts. On tight-tolerance features, account for thermal growth in your tolerance stack, especially on first-article qualification runs.
- Skipping the B-axis clearance check. Not modeling tombstone and part height in simulation is how spindles and pallet changer arms get damaged. This is the most expensive mistake on the list and it’s entirely preventable.
- Copy-pasting WCS offsets between pallets. Twin-pallet machines have pallet-to-pallet variation. Always probe independently on each pallet, never assume the offsets are identical.
- No dry cycle before first cut. The dry cycle is your insurance. Run it every time a new setup is qualified, every time a tombstone is removed and reinstalled, and every time fixtures are reconfigured.
- Undocumented setups. An undocumented setup means every re-run is a fresh setup from scratch. Record torque specs, WCS values, indicator readings, and probe offsets for every qualified setup. It saves hours and prevents repeat errors.
Key Takeaways
The productivity advantages of horizontal machining, four-face access, unattended pallet cycling, high part density per load, only materialize when the tombstone is installed cleanly, torqued correctly, and probed precisely.
Cleanliness at the mating surfaces is the foundation. Cross-pattern torquing is non-negotiable. The Center of Rotation is the anchor for every WCS offset. Probe every face, verify clearance in simulation, and always run a dry cycle before the first chip. Get those five things right and your HMC will do exactly what it’s built to do.
For sizing, specs, and 2D/3D downloads across our full product lineup, browse our full e-catalog; the current edition available as a free download.
Not sure which tombstone fits your pallet and your parts?
Use the Find Your Tombstone tool to filter by pallet size and column style, or reach out to our team directly, we’ve spec’d setups for every major HMC platform on the market and can help you land on the right configuration for your machine and your production goals.